Pre-Installation Checklist for Industrial Rubber Hose Systems
Engineers need a structured verification process before startup. This checklist covers hose routing, fitting torque, support spacing, and material compatibility. It helps prevent leaks, abrasion, and premature failure in industrial rubber hose systems.
- Verify hose length, bend radius, and routing before final fitting connection.
- Check support spacing and clamping methods to prevent vibration and abrasion.
- Confirm material compatibility with the fluid and temperature conditions.
- Perform a controlled pressure test and leak check after installation.
- Document torque values, part numbers, and inspection results for future maintenance.
Why verify before startup
Leak failures rarely start at the pressure spike. They start at the last millimeter of bend, the loose clamp, or the wrong fitting torque. An industrial rubber hose system is only as reliable as the weakest connection point in the loop. A pre-installation review catches these issues while the system is still empty and cold.
Engineers and maintenance teams often rush to startup dates. That pressure creates shortcuts. The result is a hose that leaks at the coupling after a few cycles, or a line that rubs against a support and wears through within weeks. A structured check takes twenty minutes and saves days of downtime.
This checklist is organized by function. It covers routing, fittings, supports, material checks, and final verification. Use it for new installations and for overhauls of existing lines. The goal is to identify mechanical and chemical mismatches before the first pump cycle. Most field failures trace back to a single overlooked variable during the initial setup phase.
Route and length verification
Measure the installed length before connecting the final fitting. Leave a working margin of 2 to 5 inches for future service. Too little slack causes strain on the ends when the equipment moves. Too much creates loops that trap fluid or catch on moving parts.
Check the bend radius. Most industrial rubber hoses have a minimum bend radius specified by the manufacturer. Exceeding this limit can kink the inner liner or damage the reinforcement. A 45 degree bend is generally safer than a 30 degree bend for the same hose.
Walk the route with a tape measure. Note every obstruction. Steam lines, conveyor frames, and rotating shafts all create abrasion risks. If the hose must pass near a hot surface or a moving part, plan for protective sleeving or a reroute.
Do not rely on visual estimation. A hose that looks tight in the photo may be under tension under load. Pull on the hose at the midpoint. It should move slightly without pulling on the fittings.
Consider the equipment movement patterns. A hydraulic press with a 10 inch stroke will exert significantly more lateral force on a hose than a stationary pump. Map the stroke and add slack accordingly. If the hose connects to a rotating component, such as a pump shaft, ensure the connection point allows for full rotation without twisting the hose body. Twisting stress concentrates on the braid or wire reinforcement. This leads to fatigue cracks at the inner liner.
Check the vertical drop. Gravity affects fluid flow and hose tension. A long vertical run can cause the hose to sag. If the line carries a heavy liquid, the weight of the fluid itself adds to the load on the supports. Plan for support spacing that accounts for the weight of the liquid when the line is full.
Fitting and coupling inspection
Inspect every fitting before installation. Look for nicks, burrs, or corrosion on the threads. A single burr on a male thread can cut the inner liner of a hose. Use a thread gauge if available.
Check the coupling type. Flanged, threaded, and clamp-on fittings have different torque requirements. Record the torque value for each connection. Use a torque wrench, not a wrench and muscle.
Verify the seal type. O-rings, gaskets, and thread sealants must match the fluid. A PTFE tape seal on a high pressure line is often insufficient. A soft seal can swell and lose its shape. Match the seal to the pressure and temperature.
Inspect the hose ends. The inner liner must be flush with the outer jacket. A protruding liner can tear when the fitting is torqued. A recessed liner can trap fluid and create a weak point.
Torque specifications vary by fitting material. Brass fittings require different torque values than steel or stainless steel. Exceeding the limit on a brass fitting can strip the internal threads. This creates a permanent leak path that is difficult to repair without replacing the fitting.
Check the hose barb or sleeve. For clamp-on fittings, the hose must slide smoothly onto the barb. If it sticks, the hose may be too stiff or the barb may be damaged. Forceful insertion can damage the hose end. A damaged hose end cannot be reamed or repaired. Replace the hose end or the entire hose if necessary.
Inspect the clamp. The band must be the correct size for the hose and the fitting. An undersized clamp will not close properly. An oversized clamp will not hold the hose securely. The clamp must have the correct number of teeth for the material. A mismatched clamp can cut into the hose jacket or fail to grip the hose properly.
Support and vibration control
Hoses need support, but they also need freedom to move. The goal is to reduce vibration without restricting thermal expansion. Install supports at regular intervals. A common starting point is every 12 to 18 inches, adjusted for hose diameter and pressure.
Use cradles, not straight clamps. A straight clamp cuts into the hose wall. A cradle supports the hose from the underside and allows the outer jacket to flex. For high pressure lines, use reinforced cradles that can handle the hoop stress.
Check for movement. With the system cold and pressurized, watch for oscillation. A hose that sways or buzzes needs damping. Use anti-vibration pads or spring supports. Avoid rigid brackets that pin the hose to a vibrating frame.
Inspect existing supports. Old systems often have rusted brackets or cracked plastic sleeves. Replace anything that is deteriorated. A broken support can drop a pressurized hose onto a floor or a worker.
Thermal expansion is a critical factor. Rubber hoses expand with heat. If a hose is installed in a cold state and then heated, it will lengthen. Without expansion slack, the hose will pull on the fittings. This causes leaks at the connections.
Vibration control requires a balance. Too much damping restricts movement and causes stress at the support points. Too little damping allows the hose to strike nearby equipment. Use flexible supports that absorb vibration without pinning the hose. Check for resonant frequencies. If the hose buzzes at a specific pump speed, the support structure may need modification.
Material and chemical compatibility
Confirm the hose material matches the fluid. Industrial rubber hoses are made from EPDM, FKM, NBR, and other compounds. Each has specific limits for oil, water, and solvents. A hose rated for water may swell or crack in a solvent.
Check the temperature range. Ambient temperature is not the only factor. Friction heat from pumping and ambient heat from nearby machinery raise the operating temperature. Use a thermocouple if the exact temperature is unknown.
Inspect the inner liner. A worn liner exposes the reinforcement. This is common in abrasive slurries. Replace the hose if the liner is damaged. Do not rely on a patch for a continuous flow line.
Chemical compatibility depends on concentration and temperature. A solvent that is safe at low concentrations may attack the liner at high concentrations. A fluid that is safe at room temperature may degrade the material at high temperatures.
Check the reinforcement. Some hoses use steel braid, while others use wire or fabric. The reinforcement type determines the burst pressure and the minimum bend radius. A steel braid hose is suitable for high pressure applications. A fabric reinforced hose is better for low pressure and tight bends.
Verify the temperature rating. The maximum operating temperature is different from the maximum burst temperature. Operating at the maximum temperature reduces the service life. A hose rated for 150 degrees F will last longer at 80 degrees F.
Pressure test and leak check
After all fittings are torqued and supports are in place, perform a hydrostatic test. Fill the line with water, not the process fluid. This is safer and easier to detect.
Pressurize slowly. Bring the line to 1.5 times the rated working pressure. Hold for a set time, typically 15 to 30 minutes. Watch for pressure drop.
Check every joint. Use a leak detector or a soapy water solution. Look for weeping at the threads and the fitting seats. A small leak now becomes a geyser later.
If a leak appears, relieve the pressure. Do not tighten a leaking fitting under pressure. Disassemble, inspect the seal, and reassemble. Re-test.
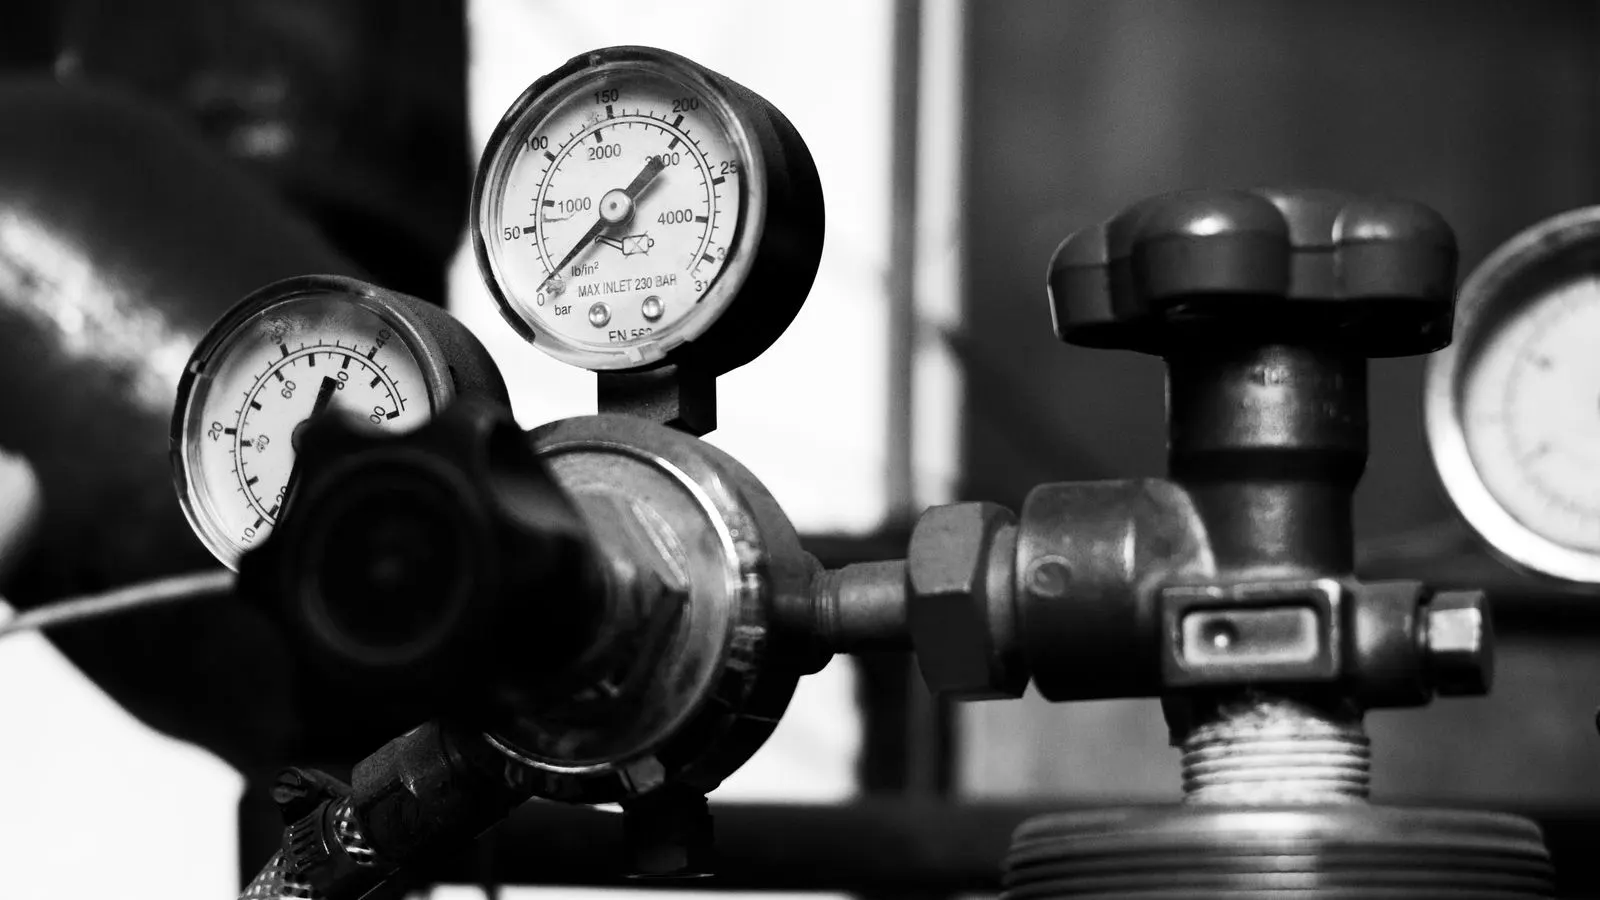
The test pressure must be accurate. Use a calibrated gauge. An uncalibrated gauge can give false readings. A pressure drop during the test indicates a leak. The leak may be at a fitting, a support point, or within the hose body.
Check the hose body. A leak in the hose body indicates a defect in the liner or the reinforcement. This hose must be replaced. Do not attempt to repair a hose body leak. The integrity of the hose is compromised.
Record the test results. Note the pressure, the time, and any leaks found. This data is valuable for future troubleshooting. If a leak appears months later, the test record helps identify the cause.
Documentation and handoff
Record the installation details. Part numbers, torque values, support locations, and test results belong in a maintenance log. The next technician needs this data.
Attach a label to each hose. Include the fluid, pressure rating, date, and installation ID. This prevents misrouting during future maintenance.
Walk the line one last time. Look for drips, loose clamps, or hoses touching the floor. Sign off on the checklist. A signed document creates accountability and a reference point for troubleshooting.
The documentation should be accessible. Store the log in a central location. A lost log leads to guesswork during future repairs. Guesswork leads to errors. Errors lead to failures.
Include the fluid specifications in the log. Note the chemical composition, the temperature range, and the pressure range. This helps future technicians select the correct replacement hose.
Red flags that stop the process
Stop installation if you see any of the following. A kinked hose section. A fitting with damaged threads. A support that is rusted through. A seal that does not match the fluid. A pressure test that shows a drop. These are not minor issues. They are failures waiting to happen.
A kinked hose section indicates a routing error. The hose may have been installed too tightly. The kink may have damaged the inner liner. Replace the hose if the kink is severe.
A fitting with damaged threads indicates poor storage or handling. The threads may have been stripped during previous use. Replace the fitting. Do not attempt to repair damaged threads with thread sealant.
A support that is rusted through indicates neglect. The support may fail under load. Replace the support immediately.
A seal that does not match the fluid indicates a material error. The seal may swell or shrink. Replace the seal with a compatible material.
A pressure test that shows a drop indicates a leak. The leak may be at a fitting or in the hose body. Identify the leak source and repair it. Re-test until the pressure holds.
Quick reference table
| Check Item | Pass Criteria | Red Flag |
|---|---|---|
| Bend Radius | Meets manufacturer minimum | Kinked inner liner |
| Fitting Torque | Matches spec, no cross-threading | Loose joint under pressure |
| Support Spacing | Even, no vibration | Hose rubbing on frame |
| Material Match | Fluid and temp compatible | Swelling or cracking |
| Pressure Test | Holds 1.5x rating | Pressure drop or weeping |
Frequently asked questions
How often should I re-check a hose installation?
Re-check after the first 50 operating hours, after any vibration event, and during scheduled maintenance. Look for abrasion, support failure, and seal degradation.
Can I use a hose that was cut to length during installation?
Only if the cut end is properly fitted with a new coupling and seal. A field cut without a proper end preparation is a weak point.
What is the safest pressure test fluid?
Water is the standard. It is inert and non-flammable. Avoid using the process fluid for testing unless it is safe and clean.
Do I need to support hoses on the ceiling?
Yes. Ceiling runs need supports to prevent sagging and to allow thermal expansion. Use insulated supports if the hose is hot.
What if the hose is near a rotating shaft?
Use a protective sleeve or reroute the hose. Do not rely on the hose jacket to withstand continuous abrasion.