Troubleshooting Premature Failure in High-Heat Rubber Compound Parts
Premature rubber failure in high heat parts usually stems from mismatched compound selection, thermal cycling overload, or poor installation. This guide explains how to identify symptoms, trace them to root causes, and correct formulation or maintenance errors before they escalate.
- Check service temperature first because compound selection is the most common cause of early rubber failure.
- Inspect for thermal cracking, hardening, and loss of tension before assuming the part is simply worn out.
- Review installation stress, compression set, and thermal cycling history to rule out mechanical damage.
- Keep compound data sheets and maintenance logs to compare field performance against lab specifications.
- Use preventive inspections and correct compound upgrades to avoid repeat failures in heat exposed applications.
Why Heat Exposure Accelerates Rubber Failure
Rubber failure in high heat environments rarely happens all at once. It starts with subtle changes that operators may miss until a seal leaks or a gasket no longer holds. The material softens slightly, then loses elasticity. Surfaces harden. Micro cracks form at the edges. Over time, those small changes add up to a part that no longer performs.
The most common cause is a compound that was never meant for the actual service temperature. Many buyers select rubber based on chemical resistance or price, then discover the part fails when the machine runs hot. Another common issue is thermal cycling. A part may sit at moderate heat for hours, then cool down. The expansion and contraction cycle stresses the material and weakens the bond between rubber and filler.
When a rubber part fails early, the response should be diagnostic, not just replacement. Swapping in a new part without understanding the cause only delays the next failure. The fix may require a compound change, a different installation method, or a change in operating procedure.
How to Identify the Failure Pattern
The first step is to examine the failed part carefully. Take photos before cleaning or discarding it. The surface pattern often tells you what happened. A part that failed from heat usually shows a different pattern than one that failed from chemical attack or mechanical abrasion.
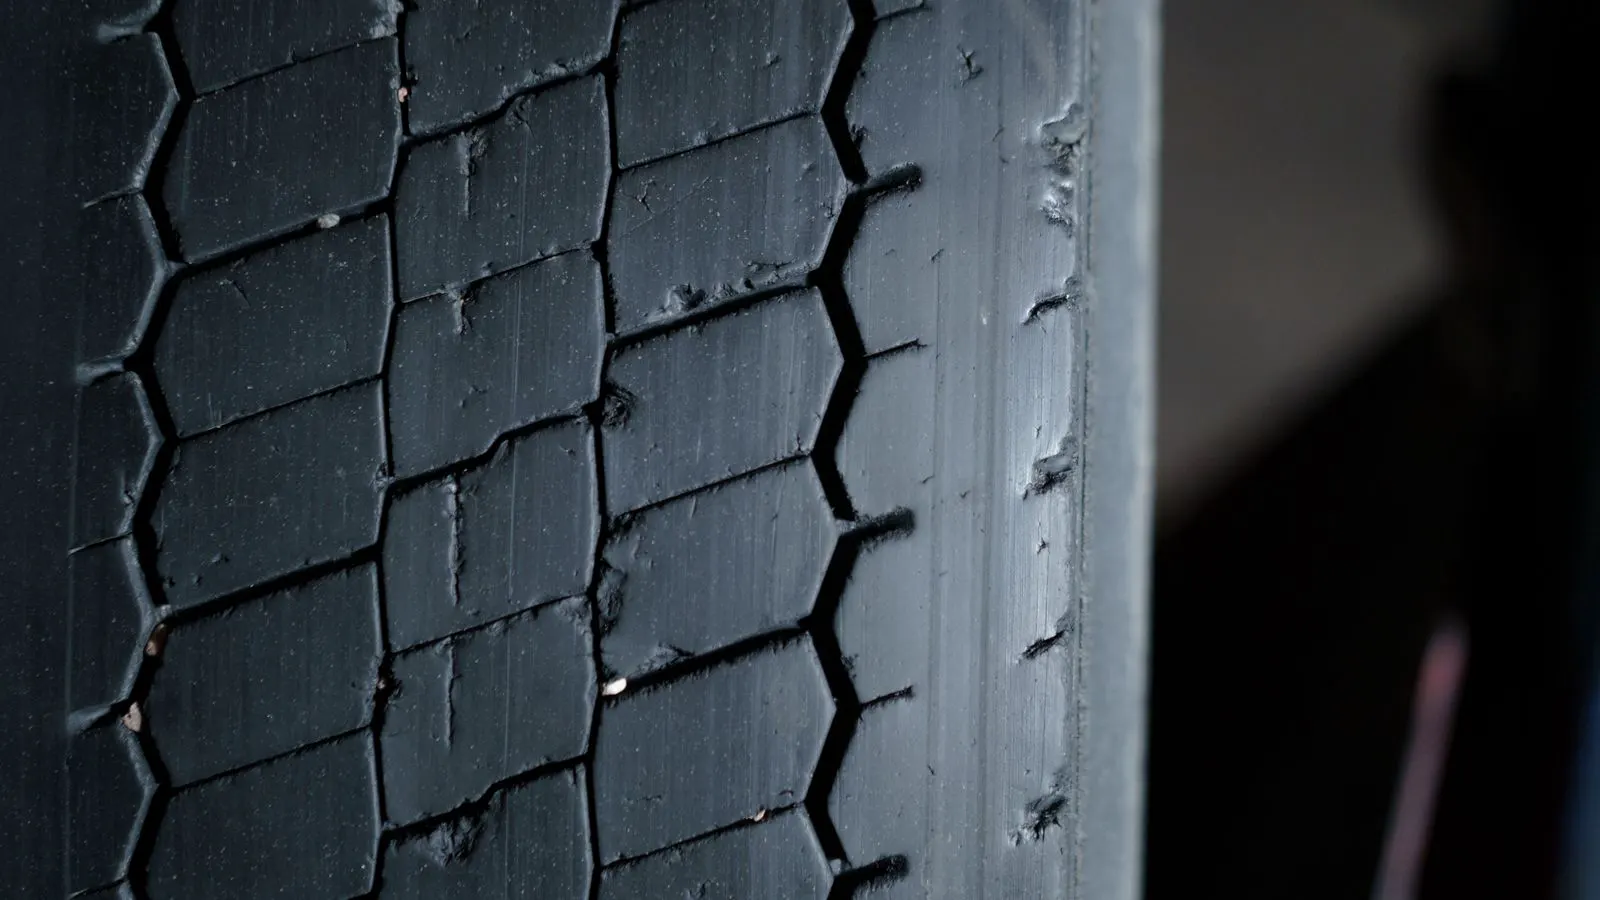
Look at the surface texture. Heat damage often creates a dull, chalky, or powdery area. The rubber may shrink from its original shape. Edges can become brittle. If the failure appears in thin sections first, the material likely lost flexibility before the bulk of the part failed.
Check the color changes. Some compounds darken with heat exposure. Others turn pale or develop a waxy surface. If the rubber is bonded to a substrate, examine the bond line. A failed bond can mean the adhesive layer degraded, or the rubber and substrate expanded at different rates during heating.
Do not rely on a single failed part. Pull the batch records and compare. If multiple parts from the same run failed in the same way, the problem is likely systemic. If only one part failed, look at installation errors or local heat sources.
Common Symptoms, Causes, and Fixes
The table below lists the symptoms most often seen in heat exposed rubber parts. Each symptom points to a likely cause and a practical correction.
| Symptom | Likely cause | What to do |
|---|---|---|
| Chalky or dusty surface after short service | Compound exceeded its heat limit and oxidized | Confirm service temperature and select a heat resistant compound formulation |
| Hard, brittle edges that snap during removal | Thermal cycling caused filler migration and embrittlement | Reduce temperature spikes, add insulation, or use a compound with higher thermal stability |
| Loss of seal tension after one or two cycles | Compression set from heat and load | Check initial compression, verify durometer, and consider a stiffer or denser compound |
| Cracks radiating from stress points | Local overheating at a hot spot or misalignment | Map the heat source, correct alignment, and add a thermal barrier where possible |
| Bond failure at the substrate interface | Mismatched expansion rates or adhesive degradation | Review the bonding process, verify cure cycle, and select a substrate compatible compound |
| Surface blistering or bubbling | Trapped air or moisture in the compound during cure | Audit the compound batch, check mixing and cure parameters, and retest the material |
These symptoms are not mutually exclusive. A part can show chalkiness from heat and brittle edges from thermal cycling at the same time. The pattern tells you which problem is dominant.
Reviewing the Compound Specification
Before ordering a replacement, pull the original compound data sheet. It should list the service temperature range, the filler system, the plasticizer package, and the cure method. If the document is missing, contact the supplier and request the technical file.
Compare the stated service temperature to the actual operating temperature. A compound rated for 120 degrees may look fine in a lab test, but if the machine runs at 140 degrees during sustained cycles, the part will age faster. The difference of twenty degrees matters. It changes the oxidation rate and the rate at which the polymer chains break down.
Check the durometer specification. A softer compound may seal better during installation, but it can compress set quickly under heat. A harder compound resists set better, but it needs more compression force to seal. The right choice depends on the joint geometry and the load. If the part failed with a loss of tension, the compound may have been too soft for the thermal load.
Look at the filler system. Some fillers improve heat resistance but reduce flexibility. Others improve flexibility but reduce thermal stability. The trade off is real. If the part needs to flex under heat, the compound must balance both properties.
Also review the cure method. Heat cured compounds can be sensitive to overcuring or undercuring. An undercured part may start with good flexibility but weakens quickly under thermal stress. An overcured part may be brittle from the start. If the supplier changed the cure process, the field performance may change even if the recipe stayed the same.
Installation and Mechanical Stress
A compound can be perfect on paper and still fail if the installation is wrong. Excessive compression during assembly creates a high initial stress. Heat then accelerates the compression set. The part shrinks, the seal gap opens, and the part fails.
Check the compression value. For static seals, a moderate compression is usually enough. For dynamic seals, the compression must allow movement without pinching the rubber. If the part was installed with too much compression, the failure will show as hardening and loss of tension.
Examine the joint geometry. Sharp corners and tight bends create stress concentration. Heat weakens the material at those points. A part with a small radius bend may fail at the bend first. If the design allows it, use a larger radius or a different part shape.
Review the thermal cycling profile. If the part heats up and cools down many times a day, the mechanical stress is higher than in a steady heat environment. The compound must withstand both the temperature and the cycle rate. A part used in a furnace door may fail differently from a part used in a heated housing.
Do not ignore the load. A rubber part under continuous load will set faster than one under intermittent load. If the part is held in a compressed state for long periods, the compound needs a higher resistance to set. If the part moves frequently, the compound needs a higher resistance to fatigue.
Preventive Maintenance and Monitoring
Prevention is easier than diagnosis. The best way to avoid premature rubber failure is to monitor the part in service and to keep records of changes.
Inspect the part at fixed intervals. Look for surface changes, color shifts, and edge brittleness. Touch the part with a gloved finger to feel for softening or hardening. If the part feels different from when it was installed, record the change.
Track the operating temperature. A thermocouple at the part location gives a better picture than a machine panel temperature. The part may sit in a zone that is hotter than the main chamber. Map the hot spots and record the peak temperatures.
Keep the compound batch records. If a failure appears, compare the field part to the original specification. If the supplier changed the filler source or the cure cycle, the difference may show up in field performance.
Use a spare part with the same compound and the same installation method for comparison. If the spare fails at the same time, the problem is environmental or design related. If the spare lasts longer, the problem may be installation or part specific.
Replace the part before it reaches the end of its expected life if the operating conditions are harsh. A part that still looks fine may have lost enough elasticity to fail on the next cycle. In critical applications, scheduled replacement based on operating hours is often safer than waiting for visible damage.
Choosing the Right Compound for High Heat
When replacing a failed part, the compound choice is the most important decision. Start with the maximum continuous service temperature. Add a margin for spikes. If the machine runs at 130 degrees with occasional spikes to 150 degrees, select a compound rated for at least 150 degrees.
Consider the chemical environment. Heat and chemicals work together. A compound that resists heat may attack a solvent, or a compound that resists a solvent may degrade faster in heat. Review the chemical list and the temperature list together.
Look at the mechanical requirements. If the part seals a moving joint, the compound must resist fatigue. If it seals a static joint, the compound must resist compression set. If it is exposed to ozone, the compound must resist ozone cracking. Heat makes these problems worse.
Request a sample and test it under the actual operating conditions. A small test part run at the real temperature for a set period is more useful than a lab report alone. If the sample shows cracking or hardening, the compound is not right.
Keep the supplier informed. If a compound fails in a specific application, the supplier may suggest a formulation change. The supplier may also suggest a different filler system or a different cure method. The goal is a compound that matches the real service, not just the catalog spec.
When to Escalate to the Supplier
Some failures are not fixable with a simple replacement. If the same compound fails in multiple applications, or if the failure pattern changes over time, the problem may be a compound defect.
Send the failed part, the data sheet, and the operating history to the supplier. Ask for a material review. Request a retest of the batch. If the supplier cannot explain the failure, ask for a new formulation or a new compound grade.
If the failure is tied to the installation process, the supplier may need to review the bonding method or the cure cycle. A part that fails at the bond line often points to a process issue, not just a material issue.
Keep a record of the exchange. Note the date, the batch number, the operating temperature, and the failure mode. This record helps if the problem repeats and gives the supplier enough information to make a real correction.
Final Checklist
Use this checklist when a heat exposed rubber part fails early:
- Record the failure pattern and take photos.
- Confirm the actual service temperature and thermal cycling profile.
- Compare the compound specification to the operating conditions.
- Review installation compression and joint geometry.
- Check the bond line and substrate compatibility.
- Request a compound review or formulation change if the failure repeats.
- Update maintenance records and inspection intervals.
A small amount of care at the diagnosis stage saves time and cost later. The part that failed was not a bad part. It was a mismatch. Fix the mismatch and the next part will last.
Frequently asked questions
How do I know if a rubber part failed from heat or from chemical exposure?
Heat failure usually shows chalky, brittle, or shrunk surfaces with color changes. Chemical failure often shows swelling, softening, or surface blistering, and the damage may be uneven where the chemical first contacted the part.
Can a rubber part be repaired after heat damage?
Most heat damaged rubber parts cannot be repaired because the polymer structure is already weakened. Replacement with a correctly selected compound is the standard fix.
What is the safest way to test a new compound before full installation?
Run a small sample under the same temperature and load conditions for a defined period. Check for cracking, hardening, and compression set before committing to a full batch.
Does a higher durometer compound always last longer in heat?
Not always. A harder compound resists compression set better, but it may crack if the joint moves. The right durometer depends on the joint geometry and the load.
How often should I inspect heat exposed rubber parts?
Inspect at scheduled intervals based on operating hours and temperature. Increase the frequency if the part shows early signs of hardening or color change.